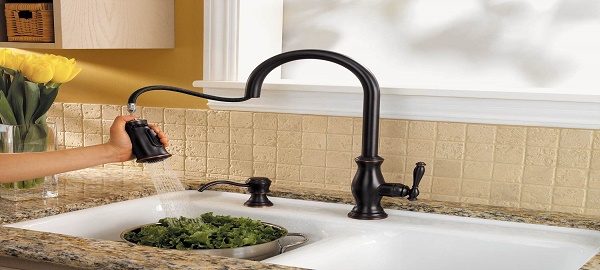
Installing a new kitchen sink is both a superficial activity and functional improvement one can make to your kitchen. But how will you start this project depends on whether you are installing the sink on a new counter or simply replacing on a existing one. Either way selecting a new sink needs some careful attention to ensure that the process goes smoothly.
When you start looking for kitchen sinks, you will notice that there are hundreds of styles and finishes to pick from. However, two important things to consider are size and the number of holes for the faucet and accessories to fit in comfortably.
Read on to know more on how to install a kitchen sink:
1) Start by double checking if the sink fits in the hole, by setting the sink in place, and make sure it covers the hole on all sides. Ideally, it is recommended to have an overlap of 1/2″ all the way around the sink. Once you see that the sink will fit in, remove it and proceed with the installation.
2) Second step is to apply silicone around the rim of the sinkhole on the counter top. A calculated amount should be applied, as once the sink is set, it is too difficult to add more. If you have added in excess, worry not as it can be wiped off after the sink is in position. Remember that caulking will seal the gap between the counter, and the sink to prevent water from leaking down under the cabinet and cause damage.
3) Third step is to carefully set the sink in place. Always ensure that the sink is level on both sides, by measuring the backsplash to the sink and making them even. Also make sure that there are no gaps in any of the sides. If you are having trouble in installing the sink do not hesitate to call a professional plumber for better services.
4) The next step would be to set up the clamps. Though clamps are variable in size, but most of them easily hooks onto the groves in the sink, and then tighten to the plywood on the underside of the countertop. A minimum of two clamps on each side is enough, but you may use more if the sink sits up in any areas. Keep in mind to check between every couple of clamps, to make sure the sink hasn’t moved.
5) After the sink is securely clamped onto the countertop, you can check the seal above the counter. Ensure there is caulking in the crack all the way around, put your head down the and counter and inspect it. Make sure your caulking lines look nice, decent, even and not overflowing. They are meant to fill the void but not be like a speed bump, allow the caulking to dry thoroughly before getting any water onto the counter.
If you are still facing problems while installing the Kitchen sink, call up A-General Plumbing and Sewer Service company New Jersey, for a more meaningful and satisfying service. We also provide maintenance tips on using our general plumbing services.

